

Since the retirement of ArcGIS Collector in December of 2021, ArcGIS Field Maps has gotten its fair share of enhancements. Data collection forms are now incredibly customizable and there have been additional upgrades included in the app itself, such as the option to use geofences. The transition to Field Maps is simple, once you become familiarized with the new online portion.
Customizable Forms
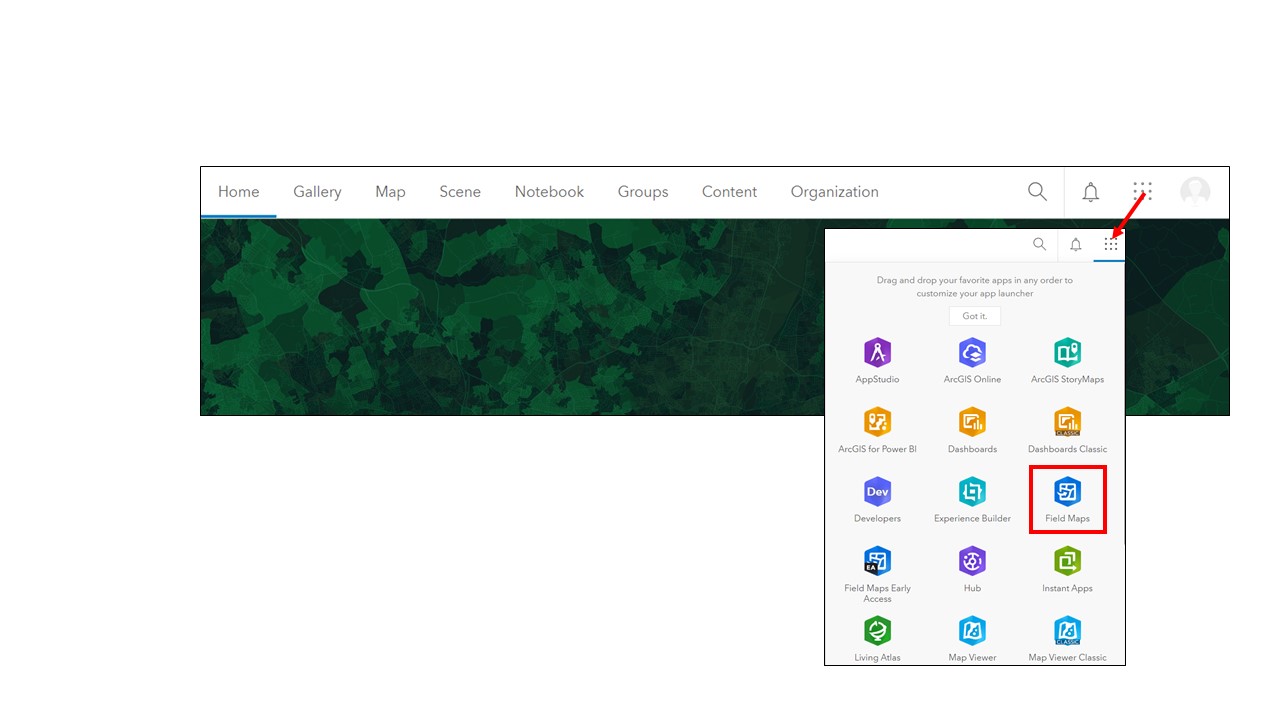
Have you ever wanted to bring the power of ArcGIS Web AppBuilder’s Smart Editor widget to your field editing workflow? With the current version of Field Maps, forms can be customized to meet the exact needs of the user and streamline data collection. Previously, with Collector, forms were configured in the web map’s pop-up. Aliases and visible fields were set at that point and that is what the user could edit in the app. This is no longer the case. Once the web map is created, you will navigate to the Field Maps web app, which can be accessed from the application menu at the top right of the ArcGIS Online page.
Note: Before configuring the web map that will be used in Field Maps, please be aware that some customization capabilities are restricted when using view layers. To take full advantage of what can be done in Field Maps, make sure to use a main hosted feature layer.
Once in the Field Maps web app, select the map that will be used in the field. In the Content section are all the layers in the map, and this is where you have the ability to configure the form. If all fields in a layer will be filled out, click the layer and select “Convert Pop-up” in the middle of the page. (Keep in mind, fields can also be removed one-by-one, so you can choose this method even if you do not need to see/edit everything.) Alternatively, the Form Elements pane provides the option to create new fields and drag existing ones into the form workspace. Items can also be grouped, whether the form is converted from the pop-up or configured manually. To do so, convert the pop-up, drag the “Group” element into the workspace, and then pull the necessary fields into the group (or manually add them from the Elements pane). Groups can be set to be expanded or collapsed by default.
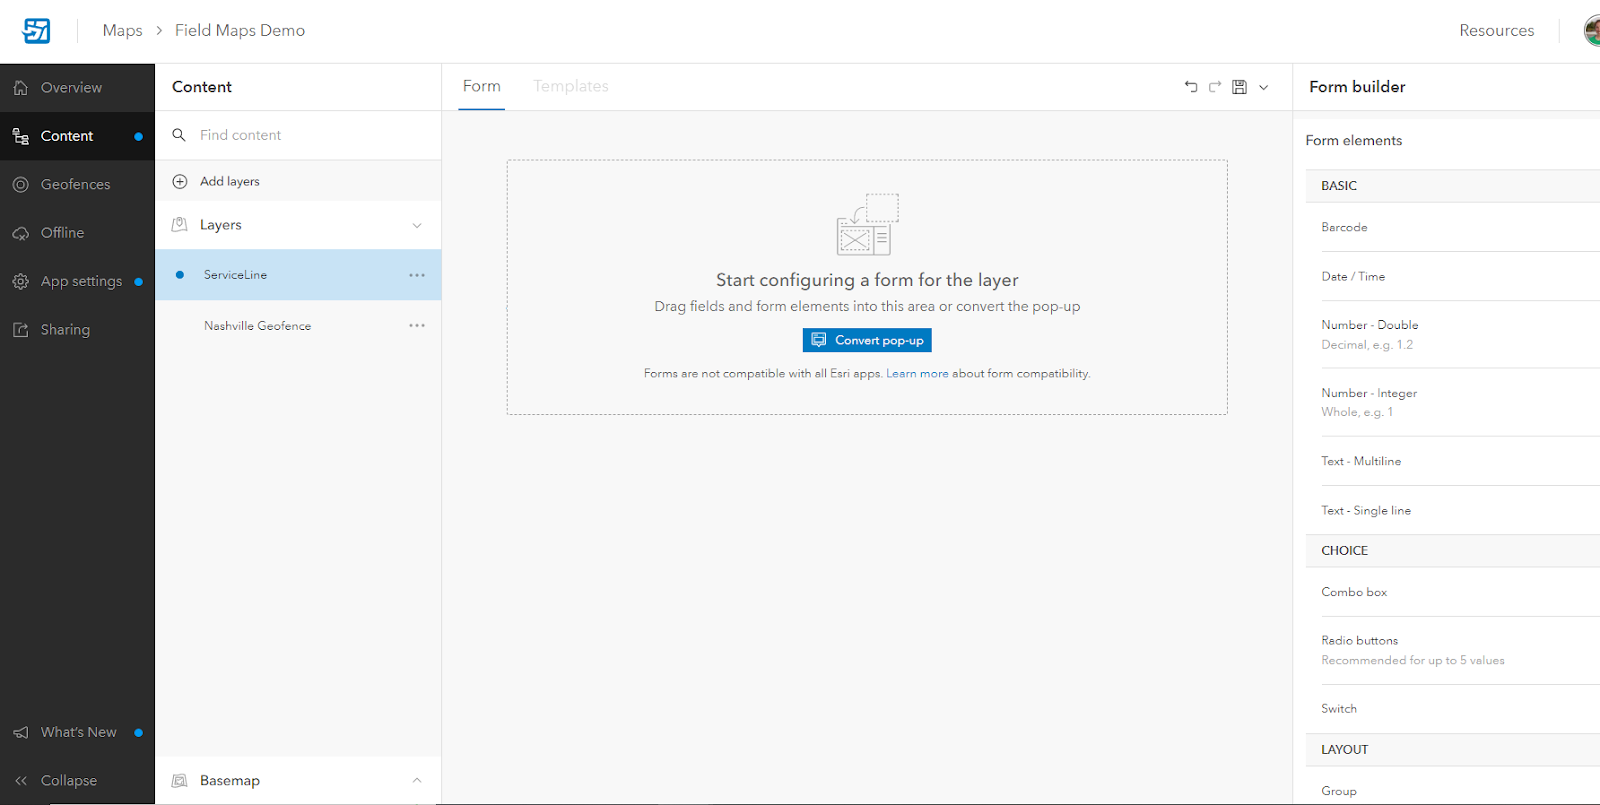
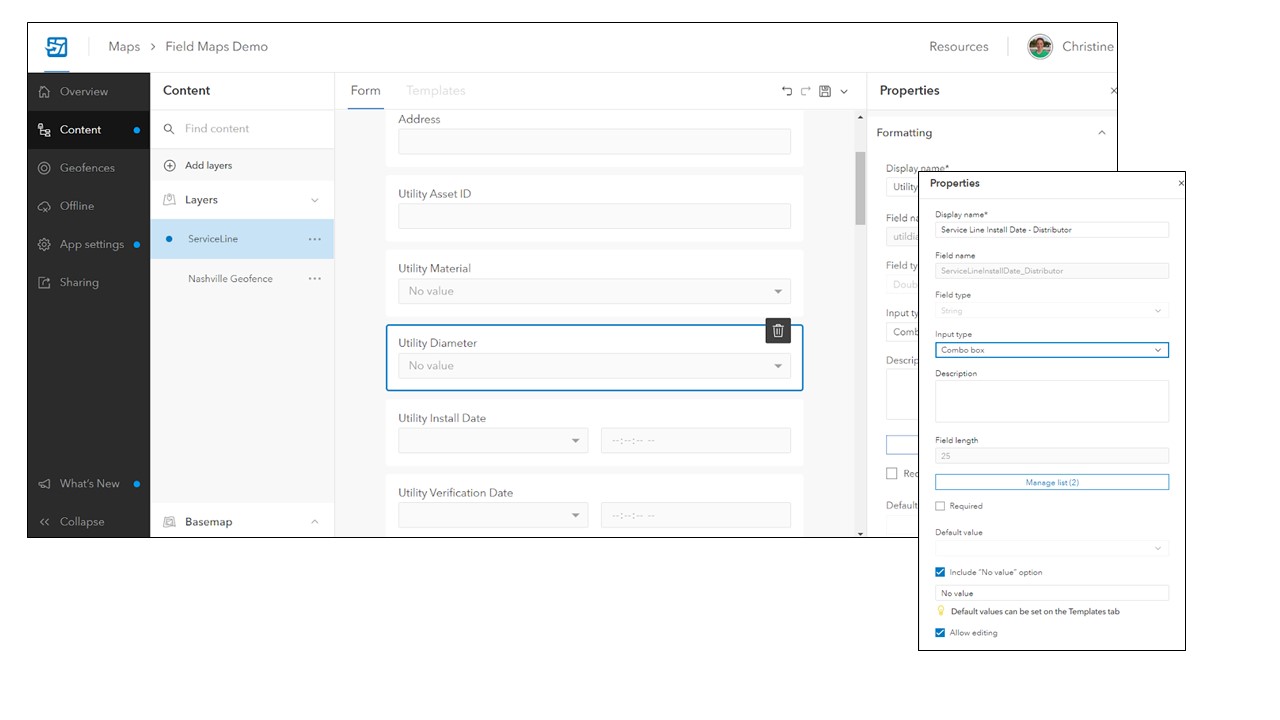
For this example, we will assume that the form was created by converting the pop-up. Once that has been done, customization can begin. Clicking on a field in the form workspace pulls up a formatting pane with several options for each field. At this point, you can tinker away until the form is configured to your liking. Auto-calculated and conditional fields can be configured in the form as well. To return to the Form Elements pane, click the highlighted field in the workspace to deselect it. As you go, save your work and see how it looks in Field Maps on the data collection device.
Geofences
Geofences are new to Field Maps and can be set up to do a couple of different things. The first step before getting started with a geofence is to include a polygon layer in the web map. This can be a feature layer from your data or you can create a specific geofence layer if your existing data does not contain what you need. In the Field Maps web app, click on the Geofences tab on the left-hand side. If there are no polygon layers in the map, there will not be an option to add a geofence.
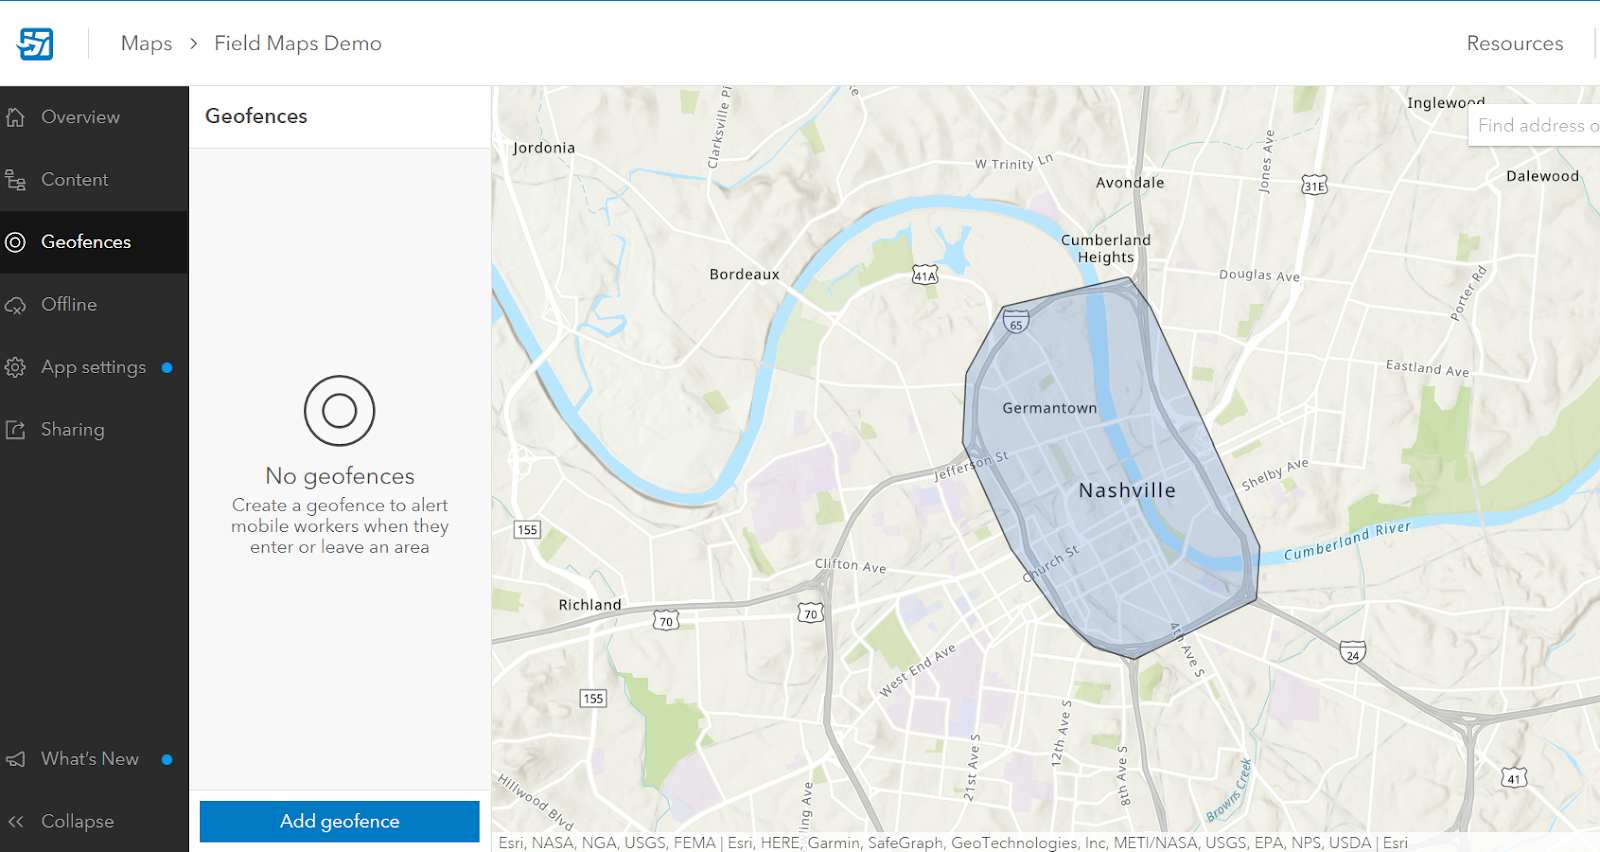
Click “Add geofence” and fill in the parameters in the New Geofence pane. There are two different types of actions: Location Alerts and Location Sharing. Location alerts can be set up to send a notification upon exit from or entry into the geofence polygon, and the message is customizable. This is beneficial for field workers, as they will be alerted when they leave an area of interest. Location sharing begins or ends device location tracking when the geofence is crossed. The users’ tracks are automatically loaded into a user tracks feature layer and can be viewed by administrators or the user themself. For further information, check out Esri’s blog post Get started with geofences in ArcGIS Field Maps.
If you have not transitioned to Field Maps yet and have some questions about migrating look at the Seamless Migration to ArcGIS Field Maps Q&A Esri recently released or reach out to us today! With a quick configuration, you and your field crews will be ready to collect data with more efficiency than ever. If you need assistance with this process or would like to discuss the process contact us today!
Want to read more articles? Check out these!
- ESRI StoryMaps Take GPT Airport to New Heights
- Get to Know Your Toolbox – Tools Used to Cache Imagery in ArcGIS Pro and Publish to ArcGIS Online!
- Wildlife Conservation powered by GIS
- Get to know Your Toolbox – ArcGIS Pro’s Minimum Bounding Geometry Tool
- Get to Know Your Toolbox – Map Series in ArcGIS Pro